How to Avoid the Top 5 Mistakes when Installing Timber Cladding
January 25, 2024
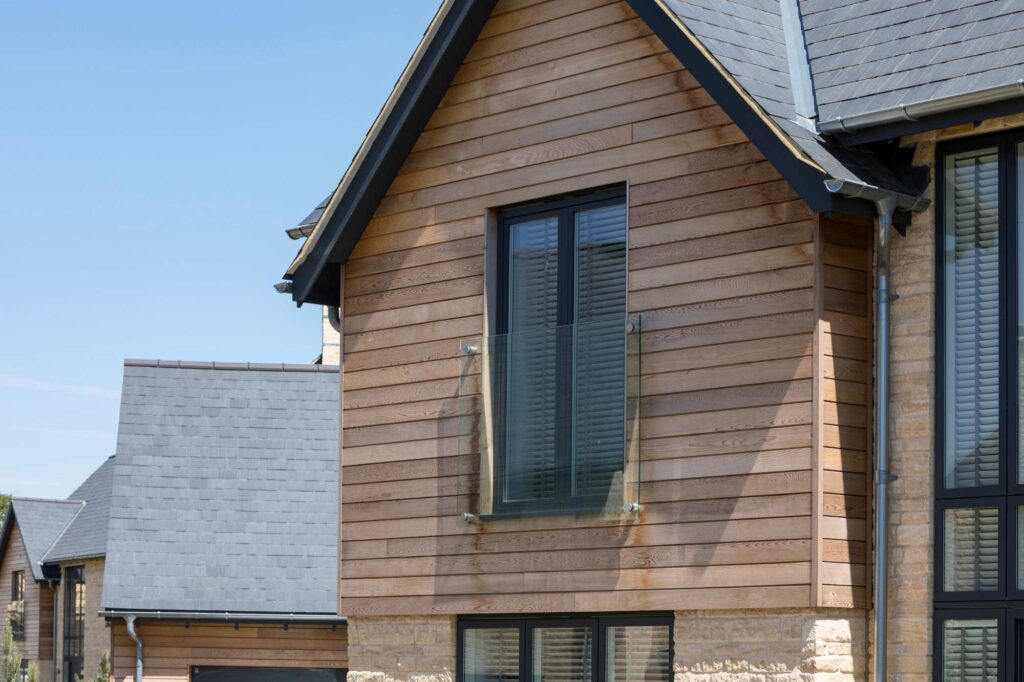
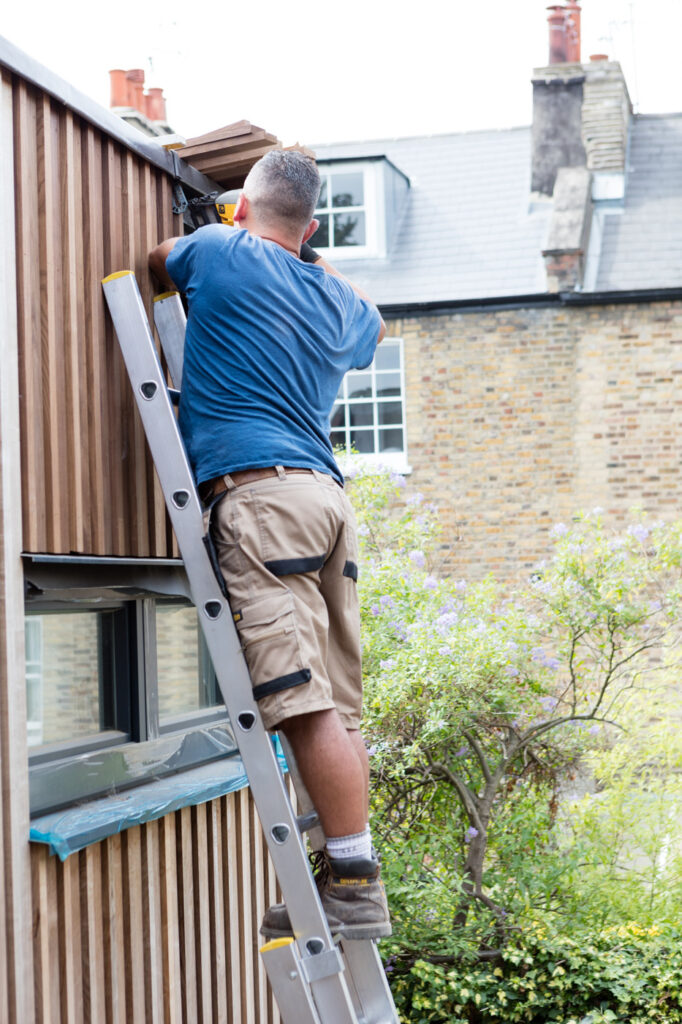
You’ve invested time and money in selecting the perfect timber cladding for your project, and now it’s crucial to ensure a flawless installation process. In this guide, we’ll explore the five most common mistakes to steer clear of, ensuring your timber cladding stands the test of time.
1. Incorrect Fixings
One of the gravest errors in timber cladding installation is the use of incorrect fixings. Rusty nails bleeding brown stains onto your pristine cladding is a sight no one wants to see. Opt for stainless steel fixings to eliminate the risk of rust and bleeding. These fixings are readily available and surprisingly affordable.
Always double-check the compatibility of fixings before installation to ensure your cladding remains secure. Use nails of adequate length, at least 2.5 times the thickness of the cladding, and opt for ringshank nails for optimal holding strength. Reserve second fix pins for stable wood species like Cedar and thermally modified wood.
2. No Expansion Gaps
Wood is a living material that expands and contracts with changes in weather and humidity. Neglecting expansion gaps can result in bulging and loose cladding boards.
When installing profiled cladding, establish a minimum 2mm expansion gap through the joint. Achieve this by using spacers at least 2mm wider than the shadow gap or rebate. This is especially vital for species prone to movement, like Larch and Oak.
3. Incorrect Battens
Thin battens and short nails are a recipe for disaster, leading to loose and potentially dangerous cladding. Choose battens between 35mm and 50mm in thickness to provide the necessary support.
4. Lack of Ventilation
Inadequate ventilation behind cladding can lead to cupping and rot.
Avoid fixing boards directly to panels, filling the batten cavity with insulation, or fully sealing the cavity at the top or bottom of the wall. Use appropriate battens to promote airflow, safeguarding your cladding from potential damage.
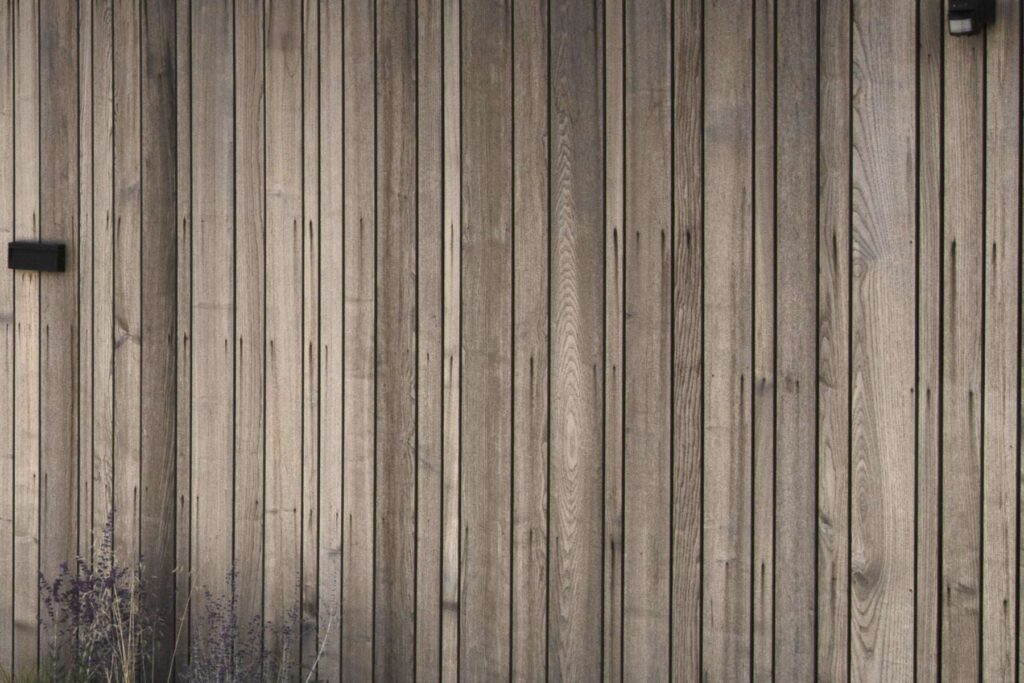
5. Insufficient Ground Clearance
Proximity to the ground accelerates wood decay. Maintain a minimum clearance of 300mm between the timber cladding and ground level. Enhance the aesthetics and longevity by incorporating a skirt of brick or render, a thoughtful design feature that complements your installation.
By steering clear of these common mistakes, you pave the way for a beautiful and enduring timber cladding installation. Your attention to detail during the installation process will ensure a long-lasting, visually stunning finish for your project.
For more information about our range of timber cladding click here
Follow this link for timber cladding prices
If you have any concerns please ask. The only silly question is the one you don’t ask!